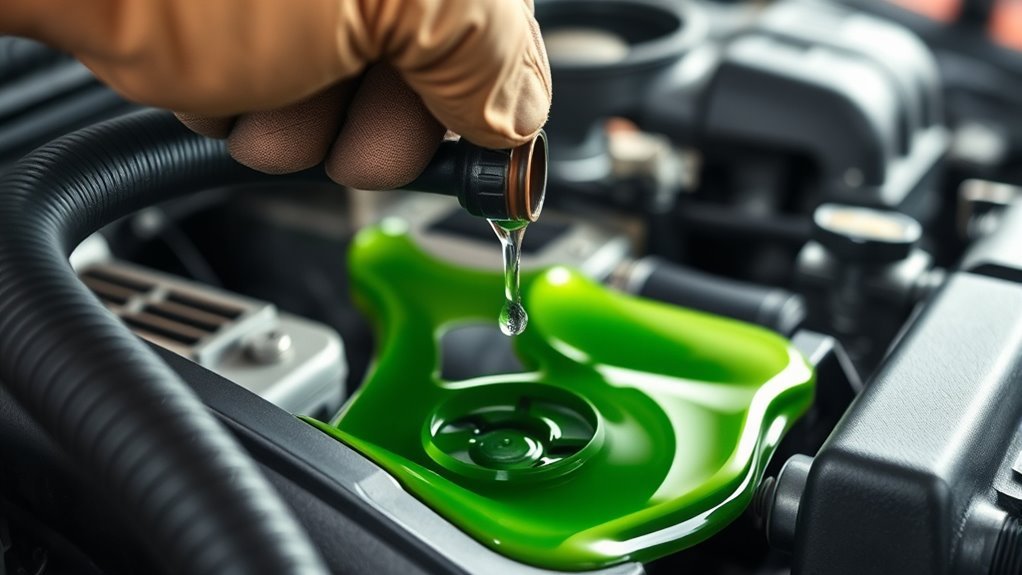
How to Repair a Coolant Leak in a Car: Find the Source and Avoid Engine Damage
To repair a coolant leak, you must first find the source. Look for early signs like puddles under the car, low coolant levels in the reservoir, or engine overheating. These clues help you catch the problem before it causes serious damage.
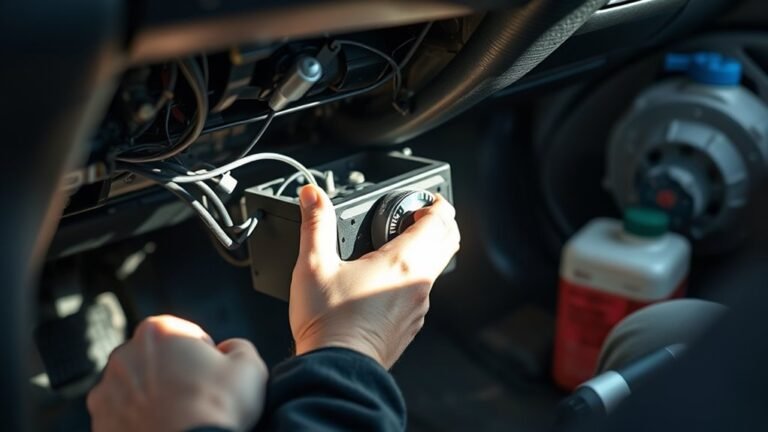
Next, inspect common leak points. Check hoses, the radiator, and the water pump carefully. Use tools like pressure testers or UV dye to spot leaks that are hard to see. Identifying the exact location is key to a proper repair.
For small leaks, sealants can work as a quick fix. However, damaged parts often need full replacement for a lasting solution. Regular maintenance helps prevent leaks and protects your engine.
Following these steps keeps your cooling system reliable and efficient.
How to Spot Early Signs of a Coolant Leak
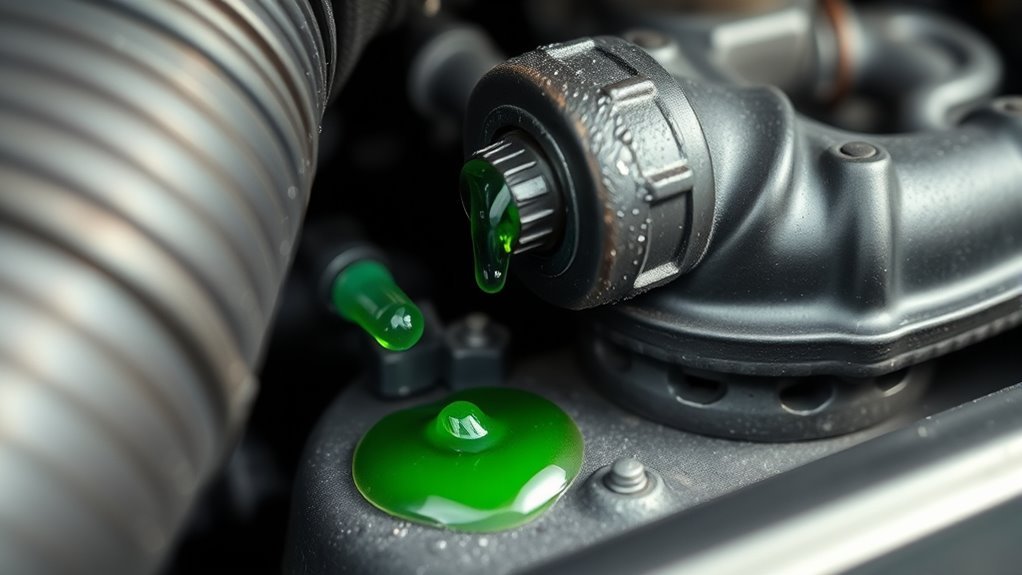
A coolant leak can be detected early by observing visible fluid under the vehicle, a drop in coolant levels, or engine overheating. Recognizing these signs helps prevent major engine damage.
Visible coolant puddles often appear under the vehicle. The fluid usually has a bright green, orange, or pink color. Check the ground where you park regularly for unusual stains or wet spots.
Drivers should monitor the coolant reservoir. A sudden decrease in coolant level without visible leaks suggests a hidden leak inside the engine or hoses.
The smell of coolant is distinct. It has a sweet, syrupy odor that may be noticeable inside or near the vehicle. This odor indicates escaping coolant vapor.
Engine overheating or a rising temperature gauge signals poor coolant circulation. The engine may also produce steam or white smoke from the engine bay during operation.
Unusual engine behavior such as rough idling or reduced performance can result from low coolant levels. These symptoms, combined with others, point toward a coolant leak.
How to Spot Early Signs of a Coolant Leak:
- Visible puddles: Bright green, orange, or pink fluid under the vehicle
- Coolant level drop: Check the reservoir for unexpected decreases
- Sweet odor: Noticeable syrupy smell inside or near the vehicle
- Engine overheating: Temperature gauge rising above normal
- Steam or smoke: White steam or smoke from the engine bay
- Engine performance: Rough idling or unusual running conditions
Early detection of these signs allows for timely repairs. Addressing leaks quickly helps avoid costly damage and maintains vehicle safety.
How to Locate Where Your Coolant Is Leaking
Locating a coolant leak requires finding the exact point where coolant escapes from the system. Accurate identification helps target repairs, avoid replacing parts unnecessarily, and maintain the cooling system’s proper function.
Follow these steps to find the coolant leak:
- Visual Inspection: Look over hoses, radiator, water pump, and coolant reservoir. Search for coolant stains, wet spots, or crusty residue that indicate a leak.
- Pressure Test: Connect a cooling system pressure tester and pressurize the system. This forces coolant to leak at weak points, revealing leaks that may not show when the engine is off.
- Check Under the Vehicle: Park the car on a clean surface and check for coolant puddles or drips beneath the engine and radiator area.
- Use Dye and UV Light: Add a fluorescent dye to the coolant. Use a UV light to scan the cooling system; the dye highlights leaks invisible under normal lighting.
Combining these methods ensures a thorough search and helps pinpoint the leak accurately.
How to Fix Common Coolant Leaks
Identifying and fixing coolant leaks quickly prevents engine damage and cooling system failure. Coolant leaks commonly occur in hoses, radiator, water pump, heater core, or thermostat housing. Each part requires a specific repair to stop leaks and maintain engine performance.
Common coolant leak repairs:
| Leak Location | Repair Action |
|---|---|
| Radiator Hose | Replace hose or tighten clamps |
| Radiator | Patch small holes or replace |
| Water Pump | Replace faulty pump |
| Heater Core | Repair or replace leaking core |
| Thermostat Housing | Replace gasket or housing |
Radiator hoses often crack or loosen, causing leaks. Inspect hoses for damage and replace worn hoses. Tighten hose clamps to secure connections and stop leaks.
Radiator leaks come from corrosion or impact damage. Small holes can be sealed with a radiator patch or sealant. Larger damage requires radiator replacement to avoid coolant loss.
Water pump leaks usually indicate a worn seal or bearing. Replacing the water pump stops leaks and ensures proper coolant flow.
Heater core leaks cause coolant loss inside the cabin. Repair minor leaks with sealants or replace the heater core for a permanent fix.
Thermostat housing leaks result from damaged gaskets or cracked housing. Replace the gasket or the entire housing to restore a tight seal.
Proper diagnosis and timely repair maintain coolant system integrity. Fixing leaks prevents overheating and extends engine life.
When to Use Sealants or Replace Parts for Coolant Leaks
Sealants can stop minor coolant leaks temporarily but are not a permanent fix. Use sealants only for small cracks or pinholes in hoses or the radiator. Larger or structural damage requires replacing parts to ensure long-term engine safety and leak prevention.
Sealants suit minor, slow leaks that do not affect the hose or radiator’s strength. They work by filling tiny gaps and slowing fluid escape. Avoid sealants near moving parts or high-pressure areas because they might fail quickly.
Replace hoses or clamps showing wear signs, such as brittleness, swelling, or large cracks. These defects compromise the coolant system’s integrity and risk sudden leaks.
Replace the radiator or water pump if leaks come from core damage, corrosion, or mechanical failure. These components cannot be reliably sealed due to their function and pressure levels.
Summary of repair choices:
- Use sealants for minor leaks without structural damage.
- Replace hoses or clamps with visible wear or cracks.
- Replace radiator or water pump when core damage or failure causes leaks.
- Avoid sealants near moving parts or high-pressure zones.
Proper inspection helps decide between sealing a leak or replacing parts to maintain engine health.
Tips to Prevent Future Coolant Leaks and Engine Damage
Preventing coolant leaks and engine damage depends on regular maintenance and careful cooling system checks. Monitoring hoses, clamps, and the radiator helps catch early signs of wear. Using the right coolant and keeping fluid levels stable protects against corrosion and overheating. Flushing the system removes blockages, and timely part replacement stops small issues from worsening.
Routine inspections are key to avoiding leaks and damage. Check hoses monthly for cracks or soft spots that could rupture. Examine clamps for rust or looseness that might cause fluid loss. Inspect the radiator for leaks or corrosion. Early detection prevents costly repairs.
Using the manufacturer-recommended coolant maintains chemical balance. This prevents corrosion inside the cooling system and protects engine components. Avoid mixing coolant types to reduce risk of chemical reactions that damage seals and metals. Keep coolant at proper levels to ensure efficient heat transfer.
Flushing the cooling system once a year removes sediment, rust, and debris. These contaminants block passages and cause leaks or overheating. Follow vehicle guidelines for flushing intervals and procedures. Use fresh coolant after flushing to maintain system integrity.
Replace worn or damaged parts promptly. Old hoses, clamps, or radiator components can cause leaks or drop system pressure. Timely replacement maintains cooling efficiency and prevents engine damage caused by overheating.
| Tip | Purpose |
|---|---|
| Inspect hoses monthly | Find cracks or soft spots early |
| Use manufacturer coolant | Prevent corrosion and internal damage |
| Flush system annually | Remove sediment and blockages |
| Replace worn parts | Avoid leaks and pressure loss |
Frequently Asked Questions
Can I Drive My Car With a Small Coolant Leak?
Can I drive my car with a small coolant leak?
It is not recommended to drive with a coolant leak, even if small. The slow loss of coolant can cause the engine to overheat, leading to damage and costly repairs. Address the leak promptly to maintain vehicle safety and reliability.
What Types of Coolant Are Compatible With My Vehicle?
Compatible coolant types vary by vehicle make and model. Common types include ethylene glycol-based, propylene glycol-based, and organic acid technology (OAT) coolants. Always check your owner’s manual or manufacturer guidelines to select the correct coolant. Using the wrong coolant can cause corrosion or reduce cooling efficiency. Avoid mixing different coolant types to prevent harmful chemical reactions in the cooling system.
How Often Should I Check My Coolant Levels?
How often should I check my coolant levels?
Check coolant levels at least once a month and before long trips. More frequent checks may be needed during seasonal changes or harsh driving conditions to detect leaks early and maintain proper engine temperature, preventing overheating and costly damage.
Are Coolant Leaks Covered by Car Insurance?
Are coolant leaks covered by car insurance?
Coolant leaks are usually not covered by standard car insurance policies because they are considered maintenance issues, not accidental damage. Collision and comprehensive coverage typically exclude repairs from wear and tear or mechanical failures like coolant leaks. Coverage can vary, so check your policy or contact your insurer for specific details.
Can a Coolant Leak Cause Overheating Without Visible Puddles?
Can a coolant leak cause overheating without visible puddles?
Yes, slow coolant leaks can evaporate quickly or seep into engine parts, reducing coolant levels without forming visible puddles. This lowers the engine’s ability to dissipate heat, causing overheating. Regularly check coolant levels and inspect for damp spots or residue in the engine bay to detect leaks early.