Car Cigarette Lighter Not Working? Fuse, Socket, Wiring, and Repair Steps
A car cigarette lighter not working is a common issue that can disrupt your driving convenience. It often results from a blown fuse, a dirty or damaged socket, or wiring problems. Identifying the root cause is the first step to fixing it.
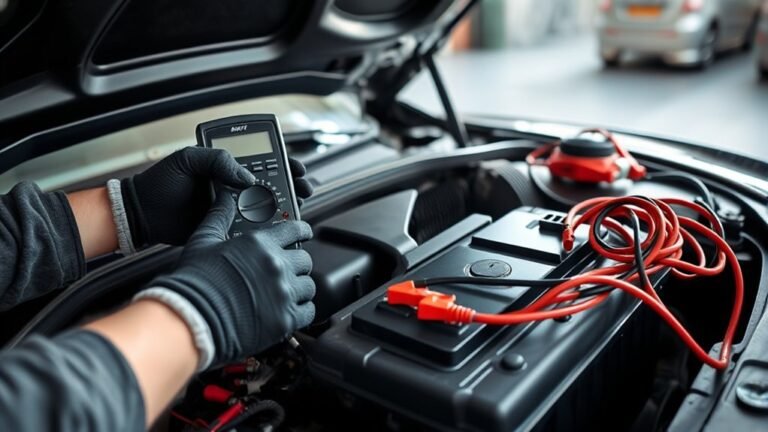
Start by checking the fuse. Look for any breaks or use a multimeter to test for continuity. Replace the fuse with one that has the correct amperage if it is blown. This simple check can solve many problems quickly.
Next, inspect the socket for debris, corrosion, or loose contacts. Clean or replace parts as needed to ensure a good connection.
Also, examine the wiring for frays or disconnections and repair any faults found. Following these steps can help restore your cigarette lighter’s functionality efficiently.
How to Check If Your Car Cigarette Lighter Fuse Is Blown
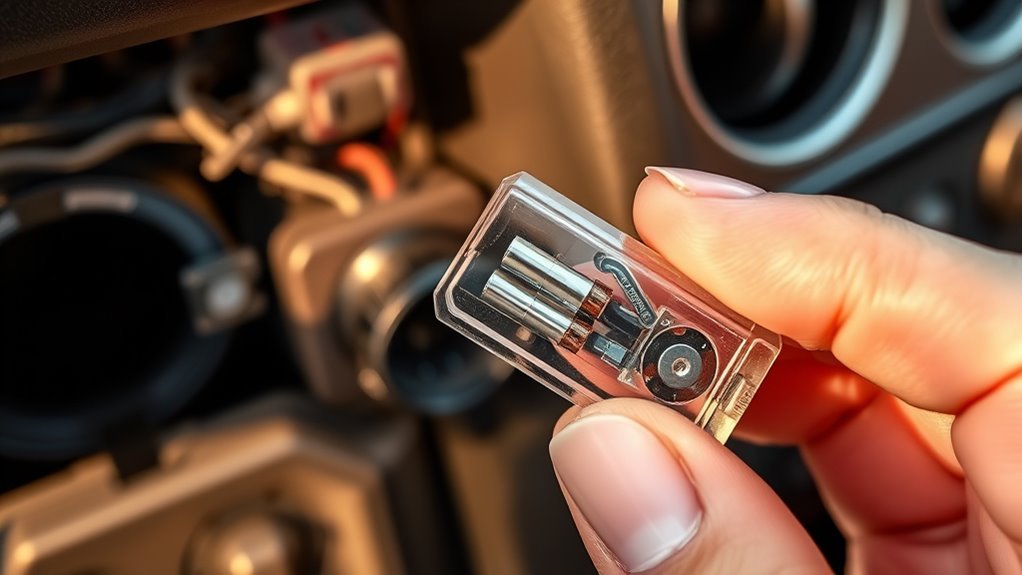
A blown fuse in a car cigarette lighter prevents it from working. To check the fuse, locate the vehicle’s fuse box, identify the cigarette lighter fuse, and inspect it visually or with a multimeter for continuity.
Locate the fuse box, usually under the dashboard or in the engine compartment. Consult the owner’s manual for the exact location and fuse diagram.
Remove the cigarette lighter fuse using a fuse puller or pliers. Inspect the fuse for a broken or burned wire inside. A damaged wire indicates the fuse is blown.
Use a multimeter set to continuity mode to test the fuse. If the multimeter does not beep or show continuity, the fuse is blown and must be replaced.
Checking the fuse is the first step before troubleshooting other electrical parts of the cigarette lighter. It ensures the issue is not caused by a simple blown fuse.
Replace a Blown Fuse Step-by-Step
A blown fuse in the cigarette lighter circuit interrupts power, preventing its use. Replacing the fuse with one of the correct amperage restores functionality safely and efficiently.
Follow these steps to replace a blown fuse in the cigarette lighter circuit:
- Turn off the vehicle to ensure safety before handling electrical components.
- Locate the fuse box, usually under the dashboard or in the engine compartment.
- Use the vehicle’s owner manual to find the exact fuse assigned to the cigarette lighter.
- Remove the blown fuse using a fuse puller or needle-nose pliers carefully.
- Check the fuse for a broken filament or discoloration to confirm it is blown.
- Insert a new fuse with the same amperage rating to prevent electrical problems.
- Ensure the new fuse fits securely in its slot.
- Turn on the vehicle and test the cigarette lighter for proper operation.
Replacing a fuse with the wrong amperage can cause electrical damage or safety hazards. Always verify the fuse type and rating before installation.
Test Your Cigarette Lighter Socket for Damage or Dirt
The cigarette lighter socket should be inspected for dirt and debris that may obstruct proper contact. Any visible damage, such as corrosion or bent components, can also prevent functionality. Using a voltage tester can help determine if the socket is receiving power as expected.
Inspect Socket Interior Cleanliness
Socket interior cleanliness affects electrical connection quality and device function. Dirt, debris, and corrosion inside the socket can prevent a secure plug fit and reduce conductivity. Regular inspection and careful cleaning help maintain socket performance and avoid unnecessary replacements.
The socket interior can collect dust, lint, and metallic particles over time. These contaminants block proper contact between the socket and the plug. Moisture exposure can cause corrosion on metal contacts, further degrading conductivity and increasing resistance.
To inspect the socket interior:
- Use a flashlight for clear visibility inside the socket.
- Employ a small mirror to view hard-to-see areas.
For cleaning the socket interior:
- Use compressed air or a soft brush to remove loose debris.
- Apply a cotton swab lightly dampened with isopropyl alcohol to clean corroded contacts.
- Avoid harsh chemicals or excessive moisture that can damage the socket.
Maintaining a clean socket improves electrical contact reliability and can restore cigarette lighter function without replacing the socket.
Check For Visible Damage
A visual inspection of the cigarette lighter socket can detect physical damage or dirt that may block its function. Check the socket’s inside and surrounding area for corrosion, broken parts, discoloration, or debris. Look for damaged wiring or cracks in the socket housing that could affect electrical contact.
Inspect the socket interior for:
- Corrosion or rust on metal contacts
- Bent, broken, or missing components
- Discoloration from heat or electrical faults
- Dirt, dust, debris, or foreign objects blocking the socket
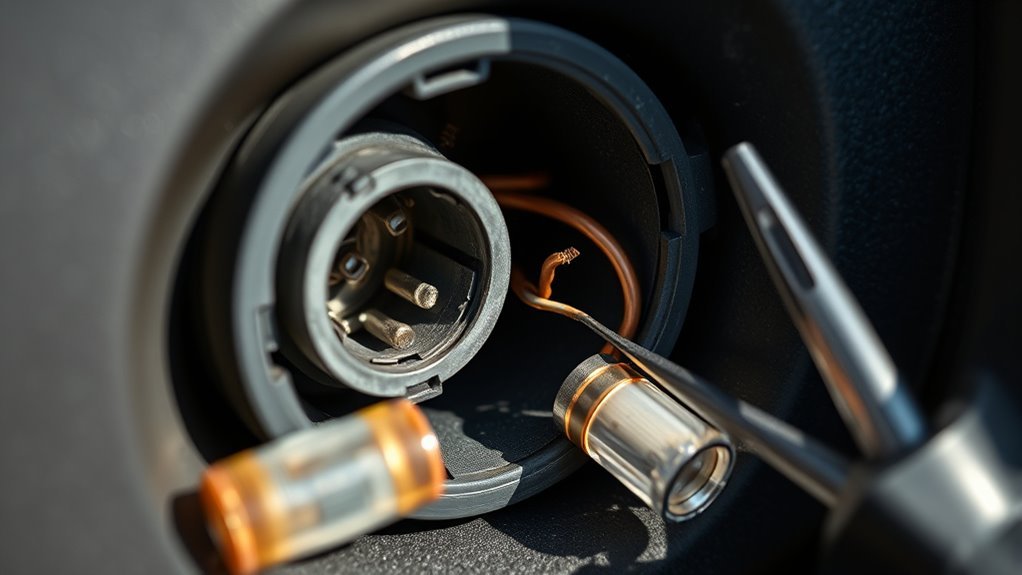
Examine wiring near the socket for looseness, fraying, or damage that might cause connection problems. Check the socket housing for cracks, warping, or deformation that can disrupt electrical flow.
Early identification of visible issues helps decide if cleaning, repair, or replacement is needed. This approach can restore function without immediate use of electrical testing tools.
Use Voltage Tester Tool
A voltage tester checks if electrical current reaches a cigarette lighter socket. It confirms power presence, helping identify if the socket works or if wiring or fuse issues exist.
To use a voltage tester on a cigarette lighter socket:
- Set the tester to the correct voltage range for your vehicle (usually 12V DC).
- Insert the tester’s probe into the socket’s metal contact points.
- Ground the other lead to the vehicle’s chassis or negative battery terminal.
- Observe the voltage reading.
- A normal voltage reading means power reaches the socket. The issue may be dirt or internal damage.
- A zero or fluctuating reading indicates wiring problems or a blown fuse.
Testing with a voltage tester isolates the cause of socket malfunction. It guides whether to clean, repair wiring, replace fuses, or swap the socket itself.
Clean or Replace a Faulty Cigarette Lighter Socket
If the cigarette lighter socket shows signs of debris or corrosion, cleaning it with an electrical contact cleaner can restore proper function. Careful inspection should identify any damaged components that may require replacement. Replacing faulty parts guarantees the socket operates safely and reliably.
Inspect Socket for Debris
A cigarette lighter socket can fail if debris blocks electrical contact. Inspecting the socket for dirt, lint, or foreign objects helps identify common causes of malfunction. Cleaning the socket carefully can restore proper operation without damaging internal components.
Use a flashlight to look inside the socket for visible debris. Dirt, lint, or small items often accumulate and prevent proper connection. Avoid using metal tools that could damage the socket’s contacts. Instead, use a plastic or wooden tool to remove obstructions gently.
Check the socket’s metal contacts after cleaning. Bent or corroded contacts reduce electrical conductivity and may require repair or replacement. If the socket looks clean and undamaged, test its electrical function with a multimeter or a compatible device to confirm the fault.
Summary of inspection steps:
- Shine a flashlight inside the socket to spot debris.
- Remove foreign material carefully with a non-metallic tool.
- Inspect metal contacts for bending or corrosion.
- Test electrical continuity if the socket is physically intact.
- Consider replacement only if cleaning and testing show persistent failure.
Regular inspection and cleaning of the cigarette lighter socket can prevent common connectivity issues and extend the socket’s usable life.
Use Electrical Contact Cleaner
Electrical contact cleaner removes corrosion and residue from cigarette lighter sockets to restore electrical flow. It dissolves oxidation and grime that block connectivity, improving contact without harming socket parts. Proper use often fixes socket issues without replacement.
Follow these steps to clean the socket safely:
- Disconnect the vehicle’s battery to prevent electrical hazards.
- Spray electrical contact cleaner directly into the socket.
- Let the cleaner penetrate and evaporate completely.
- Use a soft brush or cloth to remove loosened debris gently.
Avoid over-saturating the socket to prevent damage. Allow the socket to dry fully before reconnecting the battery or using the lighter. This method restores connectivity and extends socket life without requiring replacement.
Replace Damaged Socket Parts
A damaged cigarette lighter socket requires replacement of parts to restore electrical function. Inspect the socket for wear, corrosion, or broken contacts before replacing any components. Proper disconnection of the car battery is crucial to avoid short circuits during repair.
Inspect the socket for visible damage such as bent or burnt internal contacts. Corroded contacts also impair electrical connection and need replacement. Replacement parts come as complete sockets or individual components depending on the vehicle model.
Follow these steps to replace damaged socket parts:
- Disconnect the car battery to prevent electrical hazards.
- Remove the socket assembly or damaged parts carefully.
- Install new socket components or a full replacement unit.
- Reconnect the battery.
- Test the socket using a compatible device to confirm functionality.
Replacing damaged parts ensures reliable power delivery and prevents recurring faults in the cigarette lighter socket.
How and When to Use a Multimeter for Your Cigarette Lighter
A multimeter helps identify why a car cigarette lighter does not work by checking the power supply, fuse, socket voltage, and heating element. It reveals whether the problem is electrical or with the lighter itself, enabling targeted repairs.
Follow these steps to use a multimeter on a cigarette lighter:
- Set the multimeter to DC voltage mode, usually 12 volts for cars.
- Test the fuse by placing the probes on both ends. A reading near 12 volts means the fuse is good.
- Measure voltage at the lighter socket’s positive terminal and the vehicle ground. No voltage indicates a power supply issue.
- Check the heating element’s continuity by measuring resistance. An infinite or very high resistance means the element is broken.
Using a multimeter avoids unnecessary disassembly and speeds up troubleshooting. This method isolates faults quickly and helps determine if the fuse, wiring, or lighter element needs replacement.
Diagnose Wiring Issues Behind Your Cigarette Lighter
Wiring problems often cause a car cigarette lighter to stop working. Diagnosing these issues requires checking the wiring connections and continuity to ensure power flows properly from the fuse to the socket.
Start by visually inspecting the wiring harness attached to the cigarette lighter socket. Look for wires that are frayed, corroded, loose, or disconnected. Focus on areas near the fuse box and under the dashboard, where wires can be pinched or damaged.
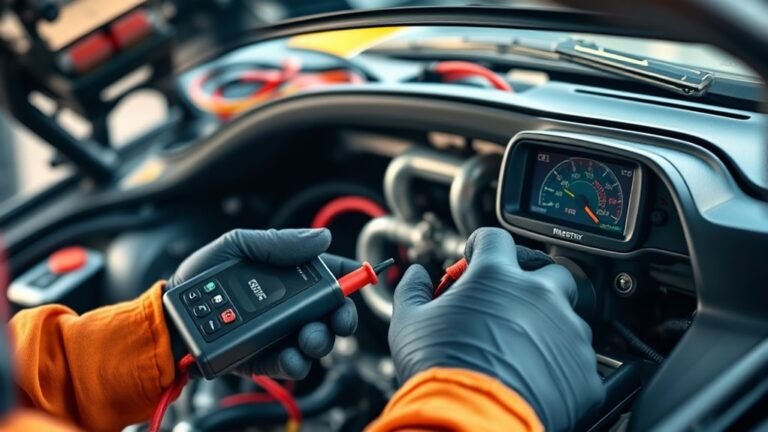
Use a multimeter to test wire continuity between the fuse and the socket. Continuity confirms that the electrical path is intact and unbroken. Next, measure the voltage at the cigarette lighter terminals to verify power reaches the socket when the ignition is on.
Follow these steps to diagnose wiring faults behind a cigarette lighter:
- Inspect wiring harness for damage or loose connections.
- Check wiring near fuse box and under dashboard for pinching.
- Use a multimeter to test continuity from fuse to socket.
- Measure voltage at socket terminals to confirm power delivery.
Detecting any irregularities during these tests indicates wiring problems that need repair or replacement before restoring cigarette lighter function.
Fix Wiring Problems in Your Cigarette Lighter Circuit
Fixing wiring problems in a car cigarette lighter circuit requires careful inspection and repair to ensure safe and reliable operation. Properly addressing wiring faults restores functionality and prevents electrical issues.
Careful inspection and repair of wiring faults ensure safe, reliable operation and restore functionality in car cigarette lighter circuits.
Follow these steps to repair wiring problems in the cigarette lighter circuit:
- Disconnect the car battery to avoid electrical shock and short circuits during repair.
- Inspect the wiring for visible damage, such as frayed insulation or broken wires, and fix or replace damaged sections.
- Use a multimeter to check continuity along the circuit, confirming all wires connect properly without breaks.
- Replace any corroded connectors or terminals to ensure solid electrical contact and avoid future faults.
Completing these steps restores the cigarette lighter circuit’s function and reduces the risk of electrical failure. Conduct wiring repairs before testing the socket with a compatible device to confirm safe operation.
Tips to Prevent Future Cigarette Lighter Failures
Preventing cigarette lighter failures requires regular maintenance and careful use. Checking the fuse and wiring for damage helps catch problems early. Avoiding excessive electrical load and keeping the socket clean also reduces failure risks. Using proper accessories and addressing issues promptly extends the socket’s lifespan.
Regularly inspect the fuse and wiring for corrosion, fraying, or loose connections. Damaged wiring can cause intermittent power or complete failure. Replace any worn components immediately to maintain safe operation.
Avoid plugging high-power devices that exceed the socket’s rating. Overloading causes overheating and can blow fuses. Refer to the vehicle manual for the socket’s maximum current capacity before connecting accessories.
Clean the cigarette lighter socket periodically. Dust, debris, or residue inside the socket can cause poor electrical contact or shorts. Use a soft brush or compressed air to remove contaminants without damaging the socket.
Choose accessories designed specifically for automotive cigarette lighter sockets. Non-compatible devices may not fit properly or draw incorrect current, increasing failure risk. Verify voltage and current requirements before use.
Monitor for warning signs like intermittent power, unusual heat, or sparks when using the lighter socket. Disconnect devices and inspect wiring if any symptoms occur. Early intervention prevents further damage to the vehicle’s electrical system.
Protect wiring from physical damage during maintenance or modifications. Avoid pinching, cutting, or stretching wires near the socket. Secure cables to prevent movement that could loosen connections over time.
Summary of preventive tips:
- Inspect fuse and wiring regularly
- Avoid exceeding socket current limits
- Keep socket clean and debris-free
- Use compatible, automotive-rated accessories
- Address malfunctions promptly
- Protect wiring during vehicle work
Following these steps improves cigarette lighter reliability and reduces repair frequency.
Frequently Asked Questions
Can I Use My Car Cigarette Lighter Socket to Charge a Phone?
Yes, you can use your car’s cigarette lighter socket to charge a phone. With the right USB adapter, the socket provides power to your phone safely, keeping your device charged while you drive.
Are Car Cigarette Lighters Universal or Vehicle-Specific?
Car cigarette lighters and sockets are mostly universal, with standardized size and voltage across most vehicles. However, slight variations in design or power output can occur depending on the make and model. Always check device compatibility to ensure proper function and avoid damage.
What Safety Precautions Should I Take When Using a Cigarette Lighter?
When using a car cigarette lighter, avoid touching the heating element to prevent burns. Ensure it is properly inserted to avoid electrical shorts. Never leave the lighter unattended while heated, and keep flammable materials away. Check for proper functioning before use, and do not use the lighter if the socket or wiring is damaged to reduce fire and electrical shock risks.
Can a Bad Cigarette Lighter Affect My Car’s Battery?
Can a bad cigarette lighter affect my car’s battery?
Yes, a malfunctioning cigarette lighter or wiring short can cause a parasitic drain on the battery when the car is off. While it usually doesn’t drain the battery directly, this hidden electrical draw can weaken the battery over time. Promptly fixing cigarette lighter issues helps maintain battery health and prevents unexpected power loss.
How Do I Know if My Cigarette Lighter Is Compatible With Accessories?
To know if your cigarette lighter is compatible with accessories, check that the accessory matches the 12-volt DC output typical of car cigarette lighters. Also, ensure the plug size and shape fit securely into the socket. Review the accessory’s specifications and consult your vehicle’s manual if needed to confirm compatibility.