How to Repair an Oil Leak on a Car: Find the Source, Assess Severity, and Choose the Right Fix
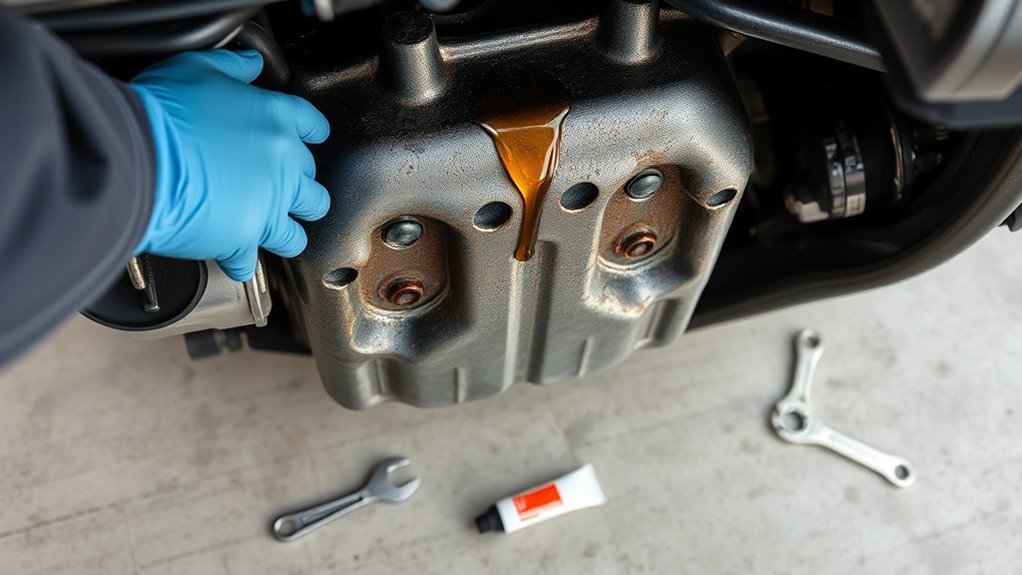
To repair an oil leak on a car, start by cleaning the engine thoroughly. Run the engine for a short time to spot fresh oil. Focus on common leak points such as gaskets and the oil pan.
Next, assess how severe the leak is. Check where the oil is leaking from and how fast the oil is dripping. Serious leaks can harm engine performance or cause oil to pool under the car.
For minor leaks, you may fix the problem by tightening bolts or replacing gaskets. If the leak persists, it is best to consult a mechanic.
Proper diagnosis and regular maintenance help prevent future leaks and keep your engine running smoothly.
Spotting the Source of an Oil Leak
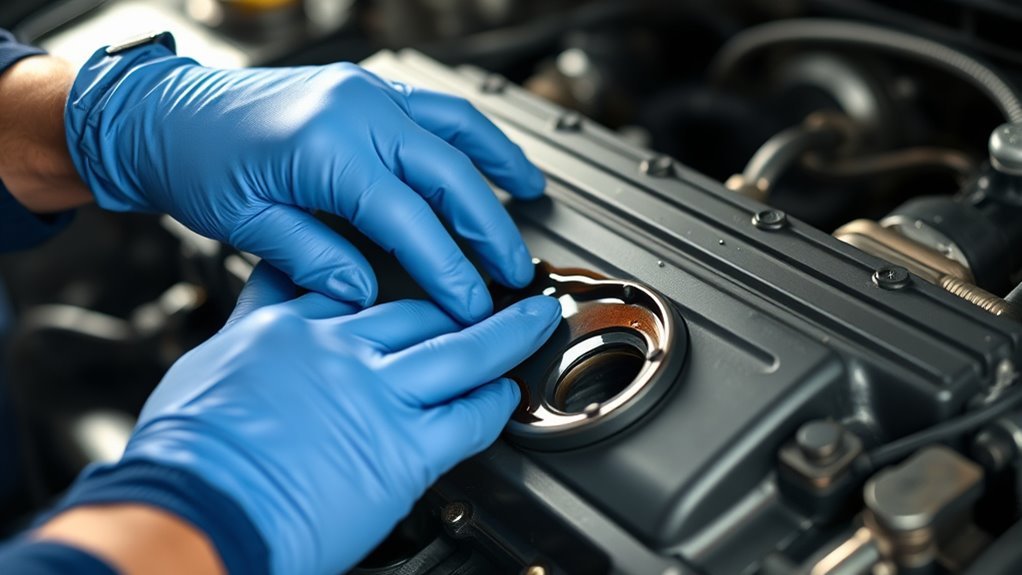
Accurately identifying the source of an oil leak requires a step-by-step inspection process. Start by cleaning the engine surface to remove old oil residue. Then, check for fresh oil spots after running the engine briefly. Use targeted tools like UV dye to find hidden leaks.
Follow these steps to find an oil leak source:
1. Clean the engine surface thoroughly to remove dirt and old oil.
2. Run the engine for a few minutes to warm it up.
3. Inspect the engine and surrounding parts for fresh oil spots or wet areas.
4. Focus on common leak points such as:
- Oil pan gasket
- Valve cover gasket
- Oil filter housing
5. Apply UV dye to the oil system and use a black light to detect leaks not visible to the naked eye.
Accurate leak detection avoids unnecessary repairs and ensures the correct component is fixed.
Common Causes of Oil Leaks
Oil leaks often result from worn gaskets, loose drain plugs, or damaged oil pans. These issues allow oil to escape the engine, causing leaks. Identifying the cause helps target repairs and prevent further damage.
Common causes of oil leaks include:
- Worn or damaged gaskets and seals: Heat and pressure cause these parts to degrade over time, allowing oil to seep out.
- Loose or improperly tightened drain plugs: If not secured correctly, drain plugs can leak oil.
- Cracked or corroded oil pans: Road debris or rust can damage oil pans, leading to leaks.
- Faulty valve cover gaskets: These gaskets can fail, causing oil to leak from the valve cover area.
- Damaged oil filter seals: A poor seal on the oil filter can result in oil escaping.
- Overfilled oil or incorrect oil type: Excess oil increases pressure inside the engine, pushing oil out through weak points.
- Engine wear and aging components: Worn engine parts can contribute to leaks as seals and fittings degrade.
Understanding these causes helps in choosing the right repair method, avoiding unnecessary part replacements, and effectively stopping oil leaks.
How to Tell If an Oil Leak Is Serious
An oil leak’s seriousness depends on its location, size, and oil loss rate. Small leaks near the oil pan or drain plug are often less urgent. Leaks around engine block or valve cover gaskets usually indicate serious problems. Rapid oil loss or oil pooling requires immediate attention.
Check the leak location carefully:
- Leaks near the oil pan or drain plug: Often slow and less critical.
- Leaks at engine block or valve cover gaskets: Can signal major engine issues.
Assess the leak size and oil loss speed:
- Slow drips: Usually minor seal or gasket wear.
- Fast leaks: Significant oil loss that risks engine damage.
Watch for external signs:
- Oil pooling under the vehicle.
- Burning oil smell while driving.
Monitor engine performance and oil pressure. Low oil pressure or rough engine operation suggests the leak affects lubrication. Serious leaks reduce oil flow, increasing engine wear. If you notice these signs, seek professional repair quickly to avoid costly engine damage.
DIY Fixes for Minor Oil Leaks
Minor oil leaks are often manageable with simple DIY repairs. Common causes include loose bolts, worn gaskets, or old drain plug washers. These leaks usually appear as slow drips near areas like the oil pan or drain plug and can be fixed without professional help.
Minor oil leaks typically stem from loose bolts, worn gaskets, or old washers and can be fixed easily at home.
Tightening loose bolts can stop leaks around the oil pan or drain plug. Inspect the area to locate any bolts that are not fully secure. Use the correct size wrench to avoid damaging the bolt heads.
Replacing worn gaskets or oil drain plug washers is a common fix. Gaskets and washers seal joints and prevent oil from escaping. Over time, they can harden or crack. Purchase replacement parts that match your vehicle’s specifications.
Oil stop-leak additives help by swelling aging seals. These products can reduce minor leaks temporarily but are not a permanent fix. Follow the product instructions carefully and monitor the leak after treatment.
Cleaning the leak area helps to track oil loss and prevents dirt buildup. Use a degreaser or brake cleaner to remove oil residue. Clean surfaces improve visibility for inspection and repair.
Valve cover gasket leaks can be repaired by gasket replacement. Removing the valve cover and installing a new gasket requires basic mechanical skills and simple tools. Use the correct gasket and torque bolts evenly according to manufacturer guidelines.
Summary of DIY fixes for minor oil leaks:
- Tighten loose bolts around leak points
- Replace worn gaskets and drain plug washers
- Use oil stop-leak additives for temporary seal swelling
- Clean affected areas for better inspection
- Replace valve cover gasket if leaking
Following these steps can control minor leaks, prevent damage, and maintain engine performance. Always use the right parts and tools for safety and reliability.
When to Call a Mechanic for Oil Leak Repairs
Call a mechanic for oil leak repairs when the leak is persistent, severe, or affects critical engine parts. Professional diagnosis ensures accurate identification and safe repair, preventing further engine damage and costly repairs.
Some oil leaks can be fixed with basic tools, but persistent or hard-to-locate leaks require expert attention. Mechanics use specialized equipment to find hidden leaks and check related engine systems.
Call a mechanic if:
- Oil leaks continue after DIY attempts
- Fresh oil stains appear daily under the vehicle
- Dashboard oil pressure warning lights turn on
- Leaks occur near important engine seals or components
- The engine shows poor performance or unusual noises
Delaying repairs can cause engine overheating, increased wear, or total engine failure. Timely mechanic intervention protects your vehicle’s health and safety.
Picking the Right Parts for Oil Leak Repairs
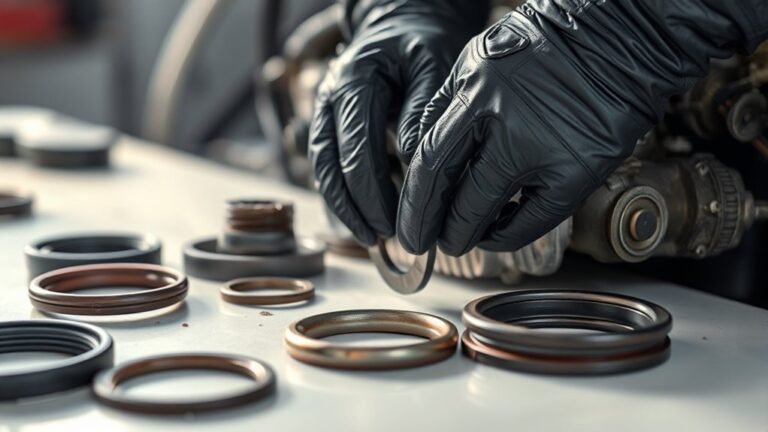
Selecting the right parts for oil leak repairs ensures a proper seal and prevents future leaks. Matching gaskets, seals, and O-rings to the vehicle’s make, model, and engine is crucial for compatibility. Using OEM parts helps maintain manufacturer standards and durability.
Gaskets and seals form the primary barriers against oil leaks. Choose parts designed specifically for the vehicle’s engine to ensure correct fit and material compatibility. Incorrect or generic parts may fail to seal properly, causing leaks or damage.
O-rings provide tight seals around circular connections. Select O-rings made from materials resistant to heat and oil exposure, matching the exact size specified by the manufacturer. This prevents premature wear and seal failure.
Fasteners like bolts and washers must be replaced if worn or damaged. These components maintain the mechanical integrity of the repair by ensuring proper torque and pressure on seals and gaskets.
When sourcing parts:
- Verify part numbers against the vehicle’s specifications.
- Cross-reference with trusted suppliers or OEM catalogs.
- Avoid generic replacements unless confirmed compatible.
A clear process for choosing repair parts:
| Step | Action | Purpose |
|---|---|---|
| Identify leak source | Locate the exact area of leakage | Target correct parts |
| Check vehicle specs | Note make, model, engine type | Ensure part compatibility |
| Confirm part numbers | Match OEM or approved parts | Prevent incorrect purchases |
| Inspect fasteners | Assess bolts and washers | Replace if worn or damaged |
| Purchase from trusted suppliers | Use OEM or verified aftermarket parts | Maintain repair quality |
Properly selected parts reduce the risk of recurring leaks. This minimizes further repairs and limits the need for professional intervention.
Preventing Oil Leaks With Regular Maintenance
Oil leaks develop slowly, making regular maintenance essential for early detection and prevention. Routine checks and timely repairs catch problems before leaks worsen. Proper care protects engine performance and reduces costly repairs.
Regular maintenance includes:
- Inspecting and replacing worn gaskets and seals to stop leaks.
- Tightening oil filters and drain plugs to prevent oil seepage.
- Monitoring oil levels and quality to detect abnormal changes.
- Changing oil according to manufacturer schedules to maintain engine lubrication.
- Cleaning engine surfaces to identify leaks early and avoid dirt buildup.
How to Monitor and Manage Oil Leaks After Repair
After repairing an oil leak, it is essential to regularly check the oil level to guarantee it remains within the recommended range. Visual inspections of the repaired areas help detect any signs of new leaks or seepage. Consistent monitoring enables timely management and prevents further damage to the vehicle.
Regular Oil Level Checks
Regular oil level checks help detect leaks after an oil repair and confirm the repair’s success. Monitoring oil ensures the engine does not run low on oil, which can cause damage. Checking oil frequently after repair allows early leak detection and timely intervention.
To manage oil levels after an oil repair, follow these steps:
- Park the car on a level surface and turn off the engine before checking.
- Remove the dipstick, wipe it clean, reinsert fully, then pull it out again to read the oil level.
- Record oil levels consistently to spot unusual decreases that may indicate leaks.
- Add oil as needed, using the manufacturer’s recommended grade to maintain proper levels.
- Increase the frequency of checks immediately after repair to catch new leaks early.
Inspect Leak Areas
Inspecting leak areas after an oil leak repair confirms the repair’s effectiveness and helps prevent further engine damage. Focused visual checks on seals, gaskets, and oil pan surfaces reveal any remaining or new leaks. Regular inspections support early detection and timely maintenance.
Monitoring oil levels helps assess engine condition and repair success. After fixing a leak, inspect common leak points: gaskets, seals, and oil pan surfaces. Look for fresh oil stains, dampness, or residue. Wiping these areas with a clean cloth can reveal new oil traces.
Check the underside of the vehicle for oil drips or puddles. Oil spots on the ground indicate persistent leaks. Perform inspections after driving, when the engine is warm and leaks are easier to spot.
Summary of inspection steps:
- Visually examine gaskets, seals, and oil pan surfaces.
- Wipe suspect areas with a clean cloth to detect fresh oil.
- Inspect under the vehicle for drips or puddles.
- Repeat inspections regularly, especially after driving.
Regularly inspecting leak areas maintains engine health and prevents costly repairs by catching leaks early.
Frequently Asked Questions
What Type of Oil Is Best for My Car’s Engine?
The best oil for your car depends on the manufacturer’s specifications in the owner’s manual. Synthetic oils provide better performance and protection, especially in extreme temperatures. Use the recommended viscosity grade, like 5W-30 or 10W-40, to ensure proper lubrication and engine longevity. Using the correct oil type helps maintain engine efficiency and prevents damage.
Can Synthetic Oil Cause Leaks in Older Vehicles?
Can synthetic oil cause leaks in older vehicles?
Synthetic oil itself does not cause leaks. However, it can clean away sludge that temporarily sealed existing cracks or worn seals, revealing leaks that were previously hidden. This is a sign of aging seals and gaskets, not a fault of the oil. Regular inspection and maintenance are important to address any leaks promptly.
How Often Should I Change My Car’s Oil Filter?
The oil filter should be changed every time you replace the oil, typically every 3,000 to 7,500 miles. This depends on your vehicle’s manufacturer recommendations and driving conditions. Regular changes ensure optimal engine performance and prevent contaminants from circulating. Check your owner’s manual for specific intervals.
Will an Oil Leak Affect My Car’s Fuel Efficiency?
An oil leak can reduce fuel efficiency by causing the engine to run less smoothly and increasing friction. This leads to poorer lubrication and higher fuel consumption over time. The impact depends on the leak’s severity and engine condition, so prompt repair is recommended.
Are There Environmental Hazards From Leaking Engine Oil?
Leaking engine oil contaminates soil and water, harming plants and aquatic life. It disrupts ecosystems and can enter the food chain. Proper repair and disposal prevent pollution and environmental damage. Ignoring leaks may lead to legal penalties.