How to Repair a Car Window Motor: Symptoms, Testing, Regulator Checks, and Replacement
A failing car window motor can cause frustration and inconvenience. Common symptoms include slow or uneven window movement, strange noises, or no response when using the controls. Recognizing these signs early can help prevent further damage.
Testing the window motor is a straightforward process. You should check the voltage at the motor terminals first. Applying direct power to the motor helps verify if it is working properly.
It is also important to inspect the window regulator for any damage or resistance that could affect operation.
Replacing the window motor requires careful removal of the motor and glass support. Installing the new motor involves securing all connections properly to ensure reliable function.
Following these steps can restore smooth window operation and extend the life of the system.
Signs Your Car Window Motor Is Failing
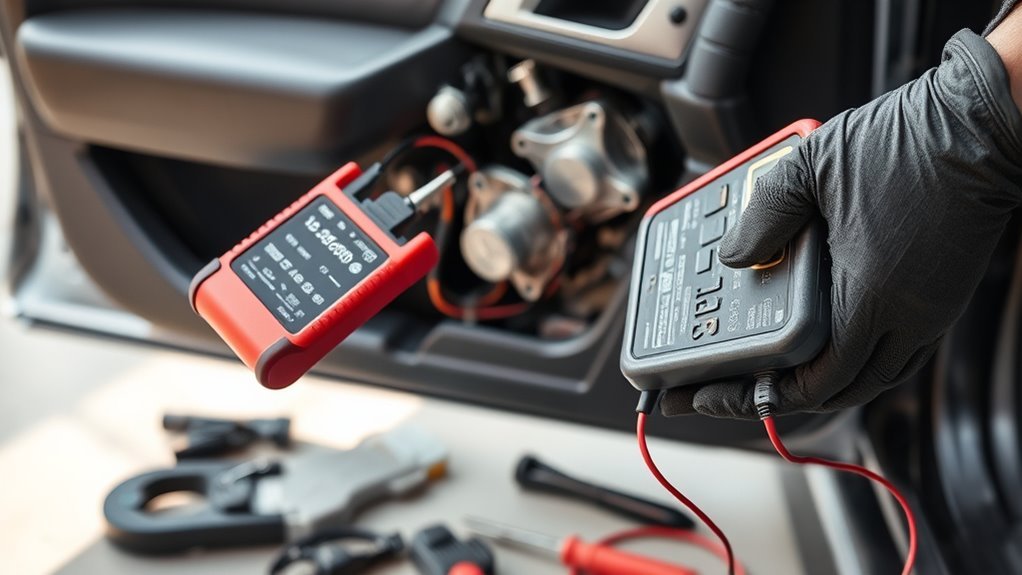
A failing car window motor shows specific signs that affect window movement and control. Common symptoms include slow or uneven motion, unusual noises, unresponsive controls, and intermittent operation. Identifying these issues early helps avoid full motor failure and further damage to the window system.
Slow or inconsistent window movement occurs when the motor struggles to raise or lower the window. The window may hesitate, stall, or move unevenly. This symptom often indicates motor wear or internal mechanical resistance.
Slow or uneven window movement often signals motor wear or internal mechanical resistance affecting operation.
Unusual noises during window operation suggest motor or gear problems. Grinding, clicking, or buzzing sounds typically arise from worn gears or a failing motor armature.
A window that does not respond to control switches may point to motor burnout or electrical faults. Check the motor and wiring for damage or connection issues if the window remains stuck.
Intermittent window function, where the window works sporadically, signals motor or electrical problems. Loose wiring or partial motor failure can cause inconsistent operation.
Summary of common signs of a failing car window motor:
- Slow or uneven window movement
- Grinding, clicking, or buzzing noises
- Complete lack of response to controls
- Intermittent or sporadic window operation
Early detection and timely repair prevent total motor failure and protect the window regulator and electrical system. Regular inspection of window operation helps maintain vehicle safety and convenience.
How to Test Your Car Window Motor at Home
Testing a car window motor at home requires a few basic tools, including a multimeter and a power source. The process involves checking the motor’s power supply and verifying wiring connections for continuity and damage. These steps help determine whether the motor is functioning properly or needs replacement.
Tools Needed
To test a car window motor at home, you need specific tools. A multimeter measures voltage and continuity. Screwdrivers remove door panels. Needle-nose pliers handle small connectors. A test light checks power at motor terminals. A wiring diagram helps follow circuit paths. Safety gloves and glasses protect you during the process.
Essential tools for car window motor assessment:
- Multimeter: Measures voltage and electrical continuity to diagnose motor circuits.
- Screwdrivers: Both Phillips and flathead types to remove screws on door panels.
- Needle-nose pliers: Useful for gripping and maneuvering small clips and connectors.
- Test light: Confirms presence of electrical power at the motor terminals.
- Wiring diagram: Vehicle-specific schematic to understand wiring and circuit layout.
- Protective gear: Gloves and safety glasses to protect hands and eyes during disassembly.
Having these tools ensures a clear, efficient diagnosis of window motor problems before moving to advanced repairs or replacements.
Motor Power Test
A motor power test checks if a car window motor receives voltage and operates correctly. It isolates the motor from other components to confirm its condition. This test helps determine if the motor itself is faulty or if the issue lies elsewhere in the vehicle’s electrical system.
To perform the motor power test:
- Disconnect the window motor from the regulator to avoid interference.
- Set a multimeter to measure DC voltage.
- While pressing the window switch, measure voltage at the motor’s power terminals.
- If voltage is present, the motor should activate.
- To test the motor independently, connect jumper wires from a 12V power source directly to the motor terminals.
- Observe the motor’s rotation, ensuring it runs smoothly and without noise.
- Reverse the jumper wire polarity to confirm the motor spins in the opposite direction.
- If the motor does not run when powered directly, it is defective and must be replaced.
This method isolates motor functionality from wiring or switch issues, providing a clear diagnosis of the motor’s condition.
Wiring Connection Check
When diagnosing a non-functioning car window motor, focus on the wiring connections. Faulty or loose wiring can stop power flow and prevent the motor from working. Checking wiring helps identify if the problem is electrical rather than mechanical.
Inspect the wiring harness and connectors for corrosion, damage, or wear. Disconnect the motor to access these parts safely. Corroded or damaged connectors can block electrical signals.
Use a multimeter to test continuity between the window switch and motor terminals. Continuity confirms the electrical path is intact. Lack of continuity indicates a wiring break or faulty switch.
Measure voltage at the motor connector while operating the window switch. Voltage presence shows the switch sends power to the motor. No voltage suggests a wiring or switch failure, not a motor fault.
Summary of wiring checks for a non-working window motor:
- Disconnect motor and inspect connectors and harness
- Check for corrosion, damage, or loose connections
- Test continuity between switch and motor terminals with a multimeter
- Verify voltage at motor connector during switch operation
- Clean and secure connections to restore function without replacing the motor
How to Check the Window Regulator When Motor Fails
A window regulator controls the movement of a car window. When a window motor fails, checking the regulator helps determine if it is causing the problem. Inspecting the regulator prevents unnecessary motor replacements and ensures accurate diagnosis.
Start by removing the door panel to access the regulator assembly. Look for physical damage such as broken cables, bent tracks, or worn gears. These signs indicate regulator failure.
Manually move the window up and down. If the window binds, resists movement, or remains stuck, the regulator likely requires repair or replacement.
Summary of steps to check a window regulator after motor failure:
- Remove the door panel.
- Inspect cables, tracks, and gears for damage.
- Move the window manually to test for smooth operation.
- Identify binding, resistance, or stuck movement as regulator faults.
Confirming the regulator’s condition before replacing the motor saves time and cost by avoiding unnecessary part changes. This process ensures a clear understanding of the window system failure.
How to Remove a Faulty Car Window Motor
Removing a faulty car window motor is essential to diagnose and fix the root cause of window failure. It allows access to the motor and internal components for inspection and replacement.
To remove the motor safely, first disconnect the vehicle’s battery to avoid electrical hazards. Then, remove the door panel by unscrewing fasteners and unclipping it carefully. Peel back the moisture barrier to reach the window motor assembly.
Follow these steps to remove the motor:
- Disconnect the electrical connector from the motor.
- Unscrew the mounting bolts that secure the motor to the regulator.
- Gently separate the motor from the regulator assembly, avoiding damage to nearby parts.
Proper removal ensures effective diagnosis and prepares the vehicle for motor replacement.
How to Replace and Install a New Car Window Motor
Replacing a car window motor begins with carefully removing the old unit from the door assembly. Once the faulty motor is detached, the new motor can be aligned and secured in place. Proper installation guarantees the window operates smoothly and reliably.
Removing Old Motor
Removing an old car window motor involves disconnecting power, accessing the motor inside the door, and detaching it carefully. The process requires safety precautions and attention to hardware to enable smooth replacement.
- Disconnect the vehicle’s battery to prevent electrical hazards.
- Remove the door panel by unscrewing fasteners and gently prying off clips. This exposes the window motor and regulator.
- Unplug the electrical connector attached to the motor.
- Secure or lift the window glass to avoid damage during motor removal.
- Unscrew or unbolt the motor from the regulator or door frame.
- Carefully separate the motor from the regulator assembly.
- Keep all screws, bolts, and clips for reinstallation.
Handle components carefully to avoid damaging the window glass or regulator mechanism. Once detached, the old motor can be removed fully from the door cavity.
Installing New Motor
A new car window motor must be installed correctly to ensure safe and reliable operation. Proper installation involves aligning the motor with the regulator, securing it firmly, reconnecting electrical connectors, testing the motor before closing the door panel, and verifying full functionality after reassembly.
Follow these steps to install a new window motor:
1. Align the Motor
Position the new motor so that its mounting holes match the regulator and door panel mounting points. Proper alignment prevents strain and ensures smooth operation.
2. Secure the Motor
Use the correct bolts or screws to fasten the motor tightly. A secure fit reduces vibrations and prevents loosening during vehicle movement.
3. Reconnect Electrical Connectors
Attach the wiring harness to the motor terminals. Check that connections are firm and insulated to avoid shorts or electrical failure.
4. Test the Motor Before Reassembly
Operate the window switch to move the window up and down. Confirm the window moves smoothly and in the right direction. Listen for unusual noises or signs of misalignment.
5. Adjust if Needed
If the window moves irregularly or noise occurs, realign the motor or regulator. Address problems before completing the installation.
6. Reinstall the Door Panel
Replace the door panel and secure it with all clips and screws. Ensure no wiring is pinched or obstructed.
7. Perform a Final Operational Check
Test the window several times to verify that it moves evenly and the motor functions reliably under normal use.
Following these steps guarantees the new window motor operates safely and effectively within the door assembly.
Maintenance Tips to Prevent Window Motor Failure
Window motor failure often happens without warning, but regular maintenance lowers the risk. Maintaining window motors ensures smooth operation and extends their service life. Key steps include cleaning, lubrication, and prompt repairs to avoid damage and costly replacements.
Keep window tracks free of dirt and debris. Clean tracks reduce resistance and prevent the motor from overworking.
Lubricate window regulators and moving parts with grease suitable for automotive use. Proper lubrication reduces friction and wear.
Avoid using power windows in extreme temperatures. Cold or hot weather strains the motor and electrical components.
Listen for unusual noises or slow window movement. Early detection of problems helps prevent motor failure.
Check electrical connections regularly. Look for corrosion, loose wires, or damaged connectors. Repair or replace faulty parts to maintain proper current flow.
Summary of maintenance tips:
- Clean window tracks to reduce motor load
- Lubricate moving parts periodically
- Avoid operating windows in extreme cold or heat
- Address unusual noises or sluggish operation quickly
- Inspect and repair electrical connections
Following these practices keeps window motors functioning reliably and reduces repair costs over time.
Frequently Asked Questions
What Tools Are Needed for Car Window Motor Replacement?
What tools are needed to replace a car window motor?
Essential tools include a socket set with a ratchet, flathead and Phillips screwdrivers, a plastic trim removal tool, and optionally a multimeter to test electrical connections.
Can a Faulty Window Motor Cause Battery Drain?
A faulty window motor can cause battery drain if it stays engaged or draws power continuously due to electrical faults. Stuck contacts or shorted wiring may create a parasitic drain even when the vehicle is off. However, this is uncommon; most battery drains are caused by other electrical components or accessories left on.
How Long Does It Take to Replace a Window Motor?
Replacing a window motor typically takes one to two hours. The process involves removing the door panel, disconnecting the old motor, and installing the new one. For beginners, it may take longer due to the complexity of the task.
Are Aftermarket Window Motors Reliable?
Are aftermarket window motors reliable?
Yes, aftermarket window motors can be reliable when purchased from reputable manufacturers. They offer a cost-effective alternative to OEM parts but vary in quality and durability. Researching reviews and ensuring vehicle compatibility is important. Proper installation and regular testing help maintain performance and longevity.
Is It Safe to Drive With a Broken Window Motor?
Is it safe to drive with a broken window motor?
Yes, it is generally safe to drive with a broken window motor, but it can be inconvenient.
What are the risks of driving with a broken window motor?
A broken window motor can leave the window stuck open or partially open, exposing the car interior to weather elements and increasing the risk of theft.
Should I repair a broken window motor immediately?
While immediate repair is not critical for driving safety, fixing the window motor promptly is recommended to restore comfort and security.