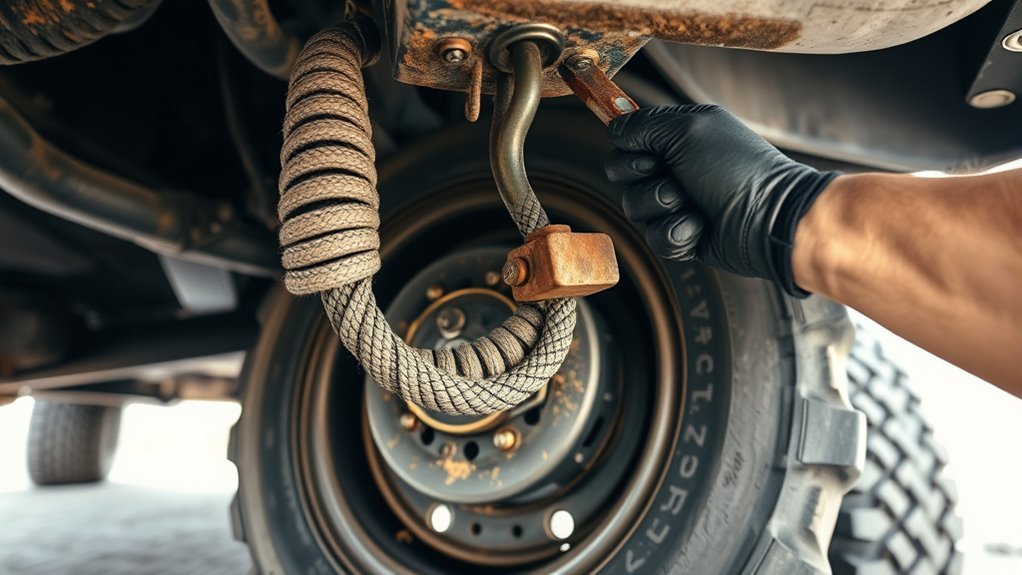
How to Remove a Spare Tire From Under a Car: Hoist, Cable, and Stuck-Spare Tips
Removing a spare tire from under a car can be straightforward if you know the right steps. Most spare tires are secured by a cable or hoist system located near the rear bumper or inside the trunk area. Understanding how these mechanisms work is key to safely lowering the tire.
For cable systems, you typically use the lug wrench or a special crank tool. Insert the tool and turn it counterclockwise to lower the tire to the ground.
Hoist systems require a similar tool, but you turn it slowly to unwind the cable holding the tire. This releases the tire from its mount.
Sometimes, the spare tire can get stuck or rusted in place. In these cases, applying lubricant and cleaning the mounting area helps. Use steady, controlled force to avoid damage.
Knowing these tips will make the removal process safer and easier.
Locate and Access Your Spare Tire Under the Car
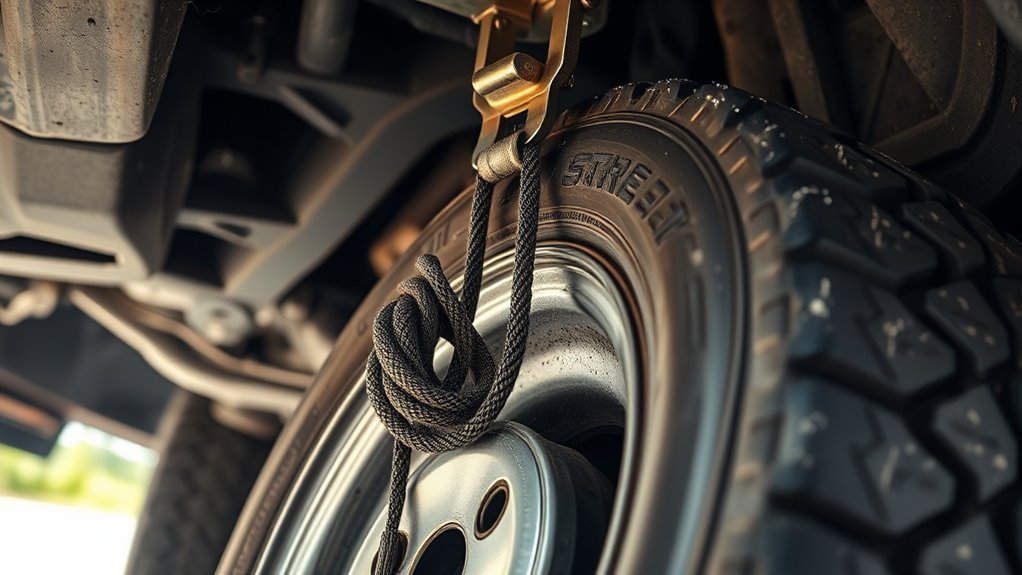
The spare tire is usually stored under the rear of the vehicle, held by a cable or bracket. Look beneath the back of the car near or behind the rear bumper to find it. The tire is often visible or can be recognized by its circular shape, mounted horizontally or vertically.
Some vehicles have a panel or cover hiding the spare tire. Removing or lifting this cover may be necessary to access the tire. Before checking under the car, ensure the vehicle is parked on a level surface and the parking brake is engaged. Knowing the exact location and how the tire is secured helps with safe and efficient removal. At this stage, avoid using any tools.
Remove a Spare Tire With a Cable System
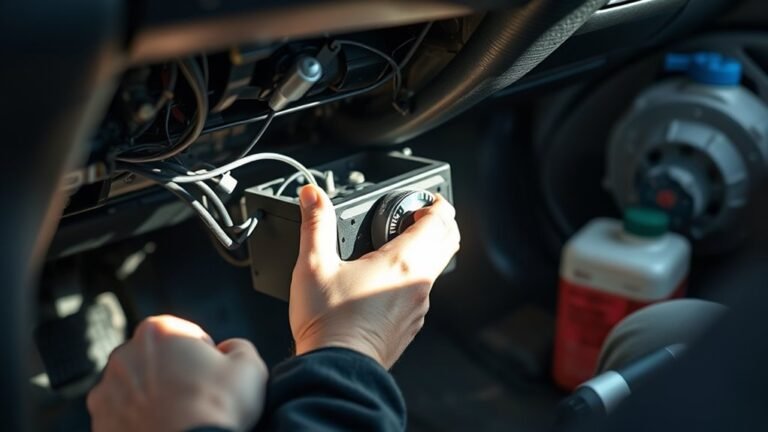
The cable access point is typically located near the rear bumper or inside the trunk area, depending on the vehicle model. Using the appropriate tool, the cable mechanism can be loosened to lower the spare tire from its secured position. Once released, the spare tire can be safely removed for use.
Locating The Cable Access
The cable access for lowering a spare tire is usually located near the rear of the vehicle. It allows a tool or crank to engage the cable system that releases the spare tire from under the vehicle. The exact spot depends on the vehicle’s make and model.
Cable access points are often found under the rear bumper, inside the trunk, or near the license plate area. These locations provide easy access to the cable mechanism without removing other components.
Common cable access locations by vehicle type:
| Vehicle Type | Common Cable Access Location |
|---|---|
| SUV/Truck | Under the rear bumper |
| Sedan | Inside the trunk, near the tail light |
| Minivan | Behind the rear panel or bumper |
To locate the cable access, check the rear lower area of the vehicle. Some vehicles have a small cover or plug that hides the access point. Use the vehicle’s owner manual for exact details if needed.
Releasing The Spare Mechanism
The spare tire is released by lowering the cable that holds it under the vehicle. Use the correct tool to turn the cable mechanism counterclockwise until the tire reaches the ground and the securing system loosens.
Follow these steps to disengage the spare tire:
- Locate the access point beneath the vehicle, usually near the rear bumper.
- Insert the proper tool, such as a lug wrench or crank, into the access hole.
- Turn the tool counterclockwise to lower the cable connected to the spare tire.
- Continue turning until the tire rests on the ground and the cable slackens.
- Pull the spare tire out carefully once the securing mechanism releases.
Maintain control of the tire during lowering to avoid injury or damage. If the tool feels stuck or the cable does not lower, check that the tool is fully engaged and clear any debris blocking the mechanism before proceeding.
Lower Your Spare Tire Using a Hoist Mechanism
A hoist mechanism lowers the spare tire secured beneath a vehicle by unwinding a cable. Activating the release allows the cable to extend, letting the tire descend safely. Turning the hoist crank or inserting a tool into the slot controls the lowering process, preventing sudden drops.
The hoist mechanism holds the spare tire under the vehicle frame. It uses a cable connected to a crank or tool slot to raise and lower the tire. The release must be triggered before lowering. The cable unwinds as you turn the crank, lowering the tire gradually.
Steps to lower the spare tire with a hoist mechanism:
- Locate the hoist crank or tool slot under the rear of the vehicle.
- Insert the appropriate tool or crank handle into the slot.
- Turn the crank slowly in the direction that unwinds the cable.
- Continue turning until the spare tire reaches the ground.
- Detach the tire from the cable by removing the securing fastener or hook.
Maintain control while turning the crank to avoid the tire dropping abruptly. Use steady, even pressure to keep the process smooth and safe.
Tools to Quickly Remove a Stuck Spare Tire
Removing a stuck spare tire often requires specific tools to ease the process. Essential items include lubricants to reduce rust and levers or pry bars to apply force safely. These tools work together to free the tire without causing damage.
Essential Removal Tools
Essential removal tools help free a stuck spare tire safely and efficiently. They provide the needed force and grip to loosen tight bolts and operate the tire release mechanism. Using the right tools reduces effort and prevents damage during the removal process.
Key tools for removing a stuck spare tire include:
1. Lug Wrench or Tire Iron
The lug wrench loosens lug nuts that hold the tire in place. Its shape and size fit standard lug nuts, allowing users to turn them with controlled force.
2. Breaker Bar
The breaker bar extends the handle length, increasing torque on stubborn lug nuts or bolts. It helps release fasteners that a lug wrench alone cannot loosen.
3. Gloves
Gloves protect hands from sharp edges on metal parts. They also improve grip on slippery or greasy surfaces during tire removal.
4. Wire Hooks or Spare Tire Hoist Tool
These tools engage the spare tire cable or mechanism under the vehicle. They enable the user to lower or raise the tire by turning or pulling the release cable.
Having these tools on hand ensures smoother, safer removal of a stuck spare tire beneath the vehicle. Proper use minimizes risk and effort during the process.
Lubrication Techniques
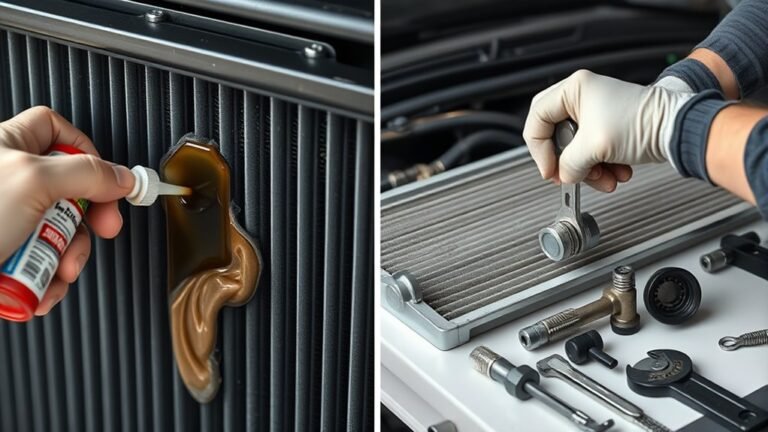
Proper lubrication reduces friction in spare tire mechanisms, making it easier to release a stuck spare tire. Applying penetrating oil or silicone-based lubricant to cables and mounting points breaks down rust and corrosion. Let the lubricant sit for several minutes before attempting removal.
Lubricants like penetrating oil seep into tight spaces, loosening seized parts in the cable and mounting hardware. Silicone-based lubricants repel moisture and prevent future rust buildup. Use a spray with a narrow nozzle for targeted application that avoids excess residue.
Steps for effective lubrication and tire release:
- Clean visible dirt from the cable and mounting points.
- Spray penetrating oil or silicone lubricant directly onto the cable mechanism and tire mounts.
- Wait 5 to 10 minutes to allow penetration.
- Gently move the cable or hoist back and forth to loosen the tire.
- Wipe away excess lubricant to prevent dirt accumulation.
Avoid over-applying lubricant, as excess oil can attract dust and grime, complicating future tire removal. Regular lubrication maintains the retrieval system’s function and extends its lifespan.
Lever and Pry Options
Lever and pry tools help release a stuck spare tire by applying force to move or loosen it. These tools reduce resistance without harming the tire or vehicle. Using the correct tool speeds up the process and lowers the chance of damage or injury.
Common lever and pry tools include:
- Pry bar: Lifts or shifts the tire gently.
- Flathead screwdriver: Loosens trapped cable ends or clips.
- Tire iron or crowbar: Applies force on tight parts.
- Long-handled wrench: Increases torque on the tire’s securing bolts.
Each tool uses mechanical advantage to overcome tight spots. A pry bar works by levering the tire out from under the vehicle. A screwdriver can free clips holding cables in place. A tire iron or crowbar pushes or pulls parts that resist movement. A long-handled wrench turns bolts with less effort.
Use these tools carefully to avoid damage or injury. Select the tool that matches the fastening method and tire placement. Proper use ensures quick and safe spare tire removal.
Tips for Freeing a Rusted or Dirt-Stuck Spare Tire
A rusted or dirt-stuck spare tire can be freed by loosening corrosion and clearing debris around its mounting area. Applying penetrating oil, cleaning with a brush, and using gentle tapping can help release seized bolts or cables. Controlled pressure is essential to avoid damage while removing the tire.
To loosen rusted mounting bolts or cables, apply penetrating oil directly to the affected parts. Let the oil soak for 15 minutes or more to break down corrosion. This step reduces friction and makes turning or sliding components easier.
Cleaning accumulated dirt around the tire’s mounting mechanism improves access. Use a wire brush or stiff bristle brush to remove debris from bolts, cables, and surrounding surfaces. Removing dirt prevents interference and aids in loosening stuck parts.
If bolts or cables remain stuck after oil and cleaning, tap them gently with a rubber mallet. This method breaks rust bonds without damaging components. Avoid heavy strikes that can deform or break parts.
Use steady, controlled pressure when working the spare tire free. Gradual movement reduces the risk of damage compared to sudden force. Patience and consistent effort often yield the best results in freeing a stuck spare tire.
Summary Table:
| Step | Action | Purpose |
|---|---|---|
| 1. Apply penetrating oil | Coat bolts/cable, soak 15+ min | Loosen rust and corrosion |
| 2. Clean mounting area | Brush off dirt and debris | Improve access and reduce resistance |
| 3. Tap gently | Rubber mallet strikes | Break rust bonds |
| 4. Apply controlled force | Slowly work tire free | Avoid damage and ease removal |
How to Prevent Future Spare Tire Issues
Preventing spare tire problems requires regular checks and maintenance of both the tire and its mounting system. Consistent care helps avoid situations where the spare tire is unusable or difficult to remove, reducing the risk of being stranded during an emergency.
Follow these steps to maintain your spare tire and related components:
- Inspect the spare tire monthly for correct air pressure and visible damage such as cracks or punctures.
- Clean the hoist mechanism and cable regularly to remove dirt and rust that can cause malfunction.
- Lubricate the cable and moving parts once a year to ensure they operate smoothly without seizing.
- Practice removing the spare tire periodically to detect and fix any issues in the release or lowering process before an emergency occurs.
Frequently Asked Questions
How Often Should I Check the Air Pressure in My Spare Tire?
Check the air pressure in your spare tire at least once a month. Tires lose air over time, so regular checks ensure it stays properly inflated for safe and reliable use in emergencies.
Can I Use a Spare Tire From a Different Car Model?
Using a spare tire from a different car model is not recommended. Spare tires must match the vehicle’s size, bolt pattern, and load rating to ensure safety, proper handling, and braking. Always use a spare tire that fits your vehicle’s specifications or consult a professional for compatibility.
What Is the Lifespan of a Typical Spare Tire?
The lifespan of a typical spare tire is 6 to 10 years. Even unused, rubber can degrade due to age and environmental factors. Regularly check for cracks, dry rot, and pressure loss. Manufacturers recommend replacing spare tires every 6 years to ensure safety and performance.
How Do I Know if My Spare Tire Is Safe to Drive On?
How do I know if my spare tire is safe to drive on?
Check the spare tire’s tread depth, sidewall for cracks or bulges, and ensure it is properly inflated to the manufacturer’s recommended PSI. Also, verify the tire’s age by checking the date on the sidewall. Replace the spare if you find any damage or if the tire is too old to ensure safe driving.
Are There Any Legal Requirements for Carrying a Spare Tire in My Area?
Legal requirements for carrying a spare tire vary by region. Most private vehicles are not legally required to have a spare tire, but commercial vehicles often must. Some areas accept run-flat tires as an alternative. Check local transportation laws to ensure compliance and avoid fines.