
How to Repair a Car Air Conditioner: Diagnosis, Common Failures, and Repair Options
Repairing a car air conditioner begins with identifying the problem. Common issues include weak cooling, strange noises, or the AC working only sometimes. These problems often stem from leaks, compressor failures, or electrical faults.
Next, you can perform basic repairs. This may involve replacing clogged filters, recharging the refrigerant, or fixing leaks. Leaks are usually found using UV dye or pressure tests. These steps often restore normal AC function.
Some problems are more complex. Handling refrigerants safely and fixing major faults may require professional help.
Knowing these basics helps you maintain your car’s AC and keep it working efficiently.
Diagnosing Common Car Air Conditioner Problems
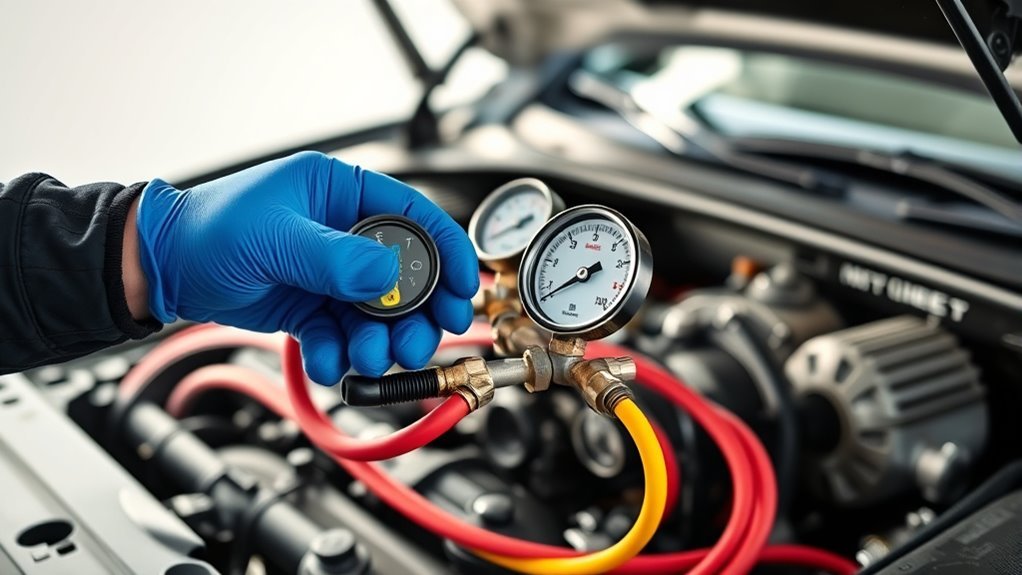
Diagnosing car air conditioner problems requires identifying specific symptoms and their causes. Common issues include insufficient cooling, unusual noises, intermittent operation, and poor airflow. Correct diagnosis helps target repairs and avoid unnecessary part replacements.
Insufficient cooling often results from a clogged cabin air filter, a malfunctioning compressor, or electrical faults. A clogged filter restricts airflow, reducing cooling efficiency. Compressor failure stops refrigerant circulation. Electrical faults can disrupt system controls.
Insufficient cooling is commonly caused by clogged filters, compressor issues, or electrical faults disrupting system function.
Unusual noises usually come from worn compressor bearings or loose belts. Bearings produce grinding or squealing sounds. Loose belts cause slapping or chirping noises during operation.
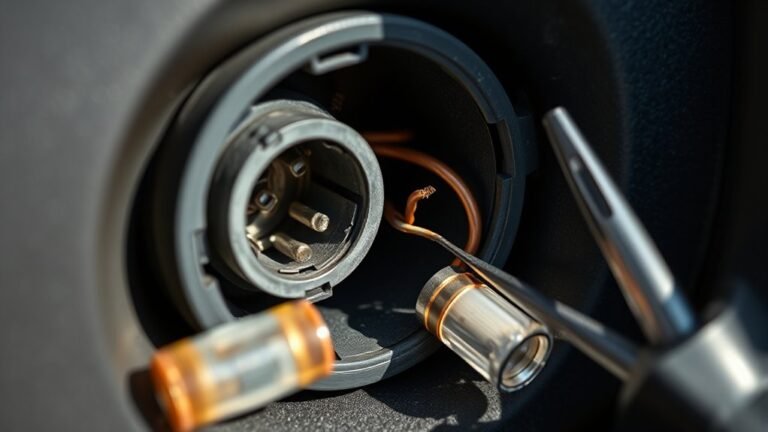
Intermittent operation may stem from faulty switches, relays, or wiring problems. Electrical components failing to maintain proper connection cause the system to turn on and off unpredictably.
Poor airflow can result from a failing blower motor or blocked vents. A weak blower motor reduces air circulation. Blocked vents limit air delivery to the cabin.
Effective diagnosis involves:
- Visual inspection of components and wiring
- Testing electrical continuity with a multimeter
- Checking cabin air filter condition
- Listening for unusual sounds during operation
- Verifying compressor function and pressure levels
Accurate identification of the root cause ensures repairs address the real problem, saving time and money.
Spotting Refrigerant Leaks in Your Car Air Conditioner
Refrigerant leaks cause poor cooling in car air conditioners by reducing the system’s ability to circulate refrigerant. Leaks can happen at hoses, connections, the condenser, evaporator, or compressor seals. Finding leaks early prevents further damage and maintains cooling efficiency.
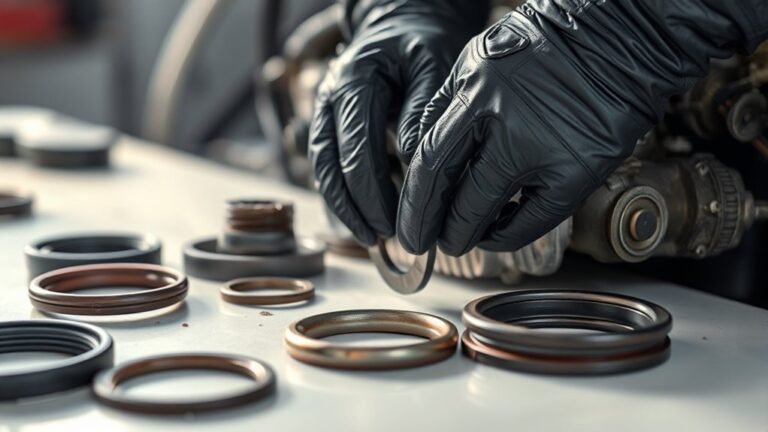
Visual inspection helps locate leaks by spotting oily residue or stains. Refrigerant carries oil that leaves marks where leaks occur. Adding a UV dye to the refrigerant system makes leaks visible under ultraviolet light, simplifying detection.
Electronic leak detectors sense escaping refrigerant gas and help pinpoint leak locations. Applying soapy water to suspected areas creates bubbles if refrigerant escapes, confirming leaks by sound or visual cues.
Steps to detect refrigerant leaks:
- Inspect hoses, connections, condenser, evaporator, and compressor seals for oily spots.
- Add UV dye and scan with ultraviolet light for leak evidence.
- Use an electronic leak detector for precise gas detection.
- Apply soapy water to suspect areas and watch for bubbles or listen for hissing sounds.
Prompt leak detection and repair prevent air conditioner damage and ensure the system functions correctly before recharging refrigerant.
Identifying Compressor Issues in Your Car AC
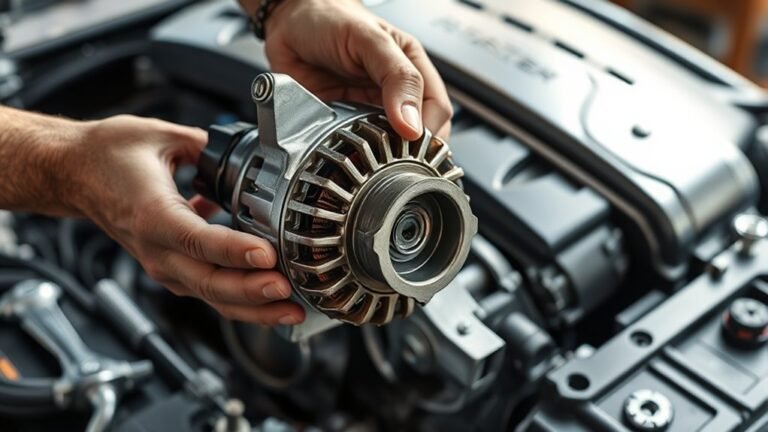
Compressor problems often manifest through unusual noises such as grinding or rattling. Performing a pressure test can help determine if the compressor is functioning correctly or if there is an internal fault. These diagnostic steps are essential for accurately identifying compressor issues in a car air conditioner.
Compressor Noise Symptoms
Compressor noise in a car’s air conditioning system signals mechanical problems. Common sounds include grinding, squealing, rattling, and knocking. These noises indicate issues like worn bearings, clutch failure, or internal damage. Early detection helps prevent further damage and costly repairs.
Grinding noises often point to worn compressor bearings or damaged internal parts. These sounds suggest metal-to-metal contact inside the compressor, which can lead to failure if ignored.
Squealing noises typically occur when the compressor clutch slips or the drive belt is loose. A high-pitched squeal usually happens during AC activation and can indicate belt misalignment or wear.
Rattling or knocking noises may indicate broken internal components or insufficient lubrication inside the compressor. These sounds are a warning of severe mechanical trouble requiring immediate attention.
Intermittent noises that start when the AC turns on can also reveal compressor problems. Such sounds often reflect clutch engagement issues or fluctuating internal pressure.
Summary of common compressor noise symptoms:
- Grinding: Worn bearings or internal damage
- Squealing: Slipping clutch or loose belt
- Rattling/Knocking: Broken parts or poor lubrication
- Intermittent noise: Clutch or pressure-related issues
Identifying these symptoms early allows accurate diagnosis and timely repair, preventing more severe damage to the air conditioning system.
Pressure Test Procedures
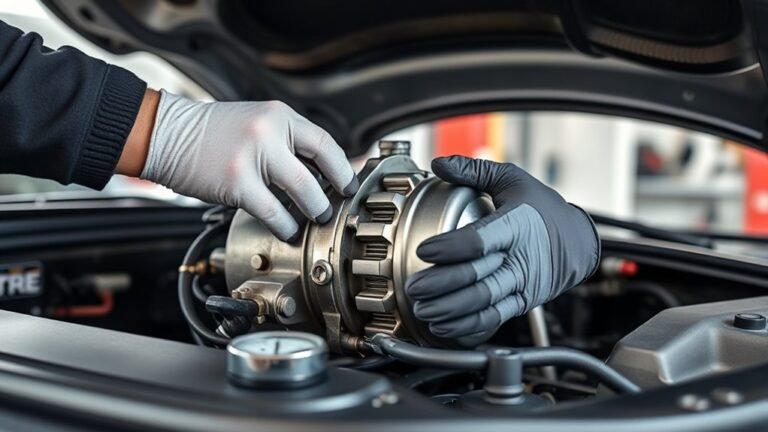
Pressure testing identifies issues in a car’s air conditioning system by measuring refrigerant pressures on both high and low sides. These pressure readings reveal compressor performance and system leaks or blockages, helping diagnose faults.
Technicians attach pressure gauges to the AC service ports. They observe pressure changes with the engine on and off. Comparing readings to manufacturer specifications helps detect abnormal conditions.
Common pressure conditions and their causes include:
| Pressure Condition | Possible Cause |
|---|---|
| Low High-Side Pressure | Refrigerant leak or compressor failure |
| High High-Side Pressure | Blocked condenser or refrigerant overcharge |
| Low Low-Side Pressure | Low refrigerant level or system leak |
| High Low-Side Pressure | Expansion valve blockage or compressor issue |
Consistent low or high pressures indicate system problems. Low high-side pressure often means a leak or compressor failure. High high-side pressure may result from condenser blockages or excessive refrigerant. Low low-side pressure suggests insufficient refrigerant or leaks. High low-side pressure points to valve blockage or compressor malfunction.
Pressure testing provides a diagnostic snapshot. It helps technicians decide if repairs or parts replacement are necessary to restore proper AC function.
Easy DIY Car AC Repairs You Can Try
Car owners can perform several basic air conditioning repairs to restore functionality without professional help. Common DIY tasks include replacing the cabin air filter, topping off refrigerant, cleaning condenser fins, inspecting belts, and checking electrical connections. These steps require minimal tools but need careful handling to avoid damage.
Replacing the cabin air filter improves airflow and cooling efficiency. A clogged filter restricts air circulation, causing weak cooling. Locate the filter behind the glove box or under the dashboard. Remove the old filter and insert a new one designed for your car model.
Replacing a clogged cabin air filter boosts airflow and improves your car’s cooling efficiency.
Topping off refrigerant addresses low pressure caused by minor leaks. Use a compatible recharge kit with a pressure gauge. Attach the kit to the low-pressure port, start the engine, and add refrigerant gradually. Avoid overcharging, which can damage the system.
Cleaning condenser fins removes dirt and debris that block heat dissipation. The condenser is usually in front of the radiator. Use a soft brush or compressed air to clear fins gently. Bent fins can be straightened with a fin comb to improve airflow.
Inspecting belts helps maintain compressor operation. Check for cracks, wear, or looseness on the AC compressor belt. Replace worn belts following the manufacturer’s instructions. Proper belt tension ensures the compressor runs smoothly.
Checking electrical connections, fuses, and relays can fix intermittent AC failures. Locate the fuse box and inspect fuses related to the AC system. Test relays by swapping with similar ones if available. Secure loose wiring or connectors to restore consistent power.
These DIY repairs can maintain car AC performance temporarily. Use protective gloves and eyewear when handling refrigerant or working near moving parts. Consult a professional for complex issues or refrigerant recovery and disposal.
When DIY Repairs Aren’t Enough: Calling a Pro
Professional help is necessary when basic air conditioning fixes fail. Complex problems like refrigerant leaks, compressor failures, and electrical faults require expert tools and skills. Certified technicians diagnose issues accurately, perform repairs safely, and comply with regulations to restore system function.
Refrigerant leaks need careful handling. Professionals use specialized equipment to detect and repair leaks without harming the environment. They ensure proper refrigerant levels and system pressure, which DIY attempts often miss.
Compressor and electrical system repairs involve high risk. Certified technicians understand system wiring and mechanics to prevent further damage or safety hazards. Advanced repairs require diagnostic tools unavailable to most DIYers.
Using manufacturer-approved parts is important. Professionals source genuine components to maintain system reliability and warranty coverage. Unauthorized parts can cause failures and void warranties.
Seeking expert help prevents costly mistakes. Professionals restore air conditioner efficiency and safety, ensuring long-term performance. Recognizing when to call a pro saves time, money, and reduces risk.
Essential Maintenance Tips to Extend Your Car AC’s Life
Maintaining a car air conditioner involves regular checks of refrigerant levels to guarantee ideal cooling performance. Filters should be cleaned or replaced routinely to prevent airflow obstruction and maintain air quality. Additionally, inspecting for leaks and sealing them promptly can prevent system damage and extend the AC’s lifespan.
Regular Refrigerant Level Checks
Refrigerant levels in a car’s air conditioning system should be checked at least twice a year to maintain optimal cooling performance. Regular checks help prevent system damage and ensure efficient operation.
Monitoring refrigerant levels before summer and after heavy use reduces the risk of leaks and system failure. Key steps include:
- Inspecting for leaks that cause refrigerant loss, which lowers cooling efficiency.
- Measuring system pressure with gauges to confirm it meets manufacturer guidelines.
- Recharging refrigerant only when levels drop below recommended limits to avoid overcharging.
- Seeking professional service if the air conditioner cools unevenly or produces unusual sounds.
Routine refrigerant checks extend the lifespan of the air conditioning system and improve driving comfort. Incorporate these inspections into scheduled automotive maintenance for best results.
Clean or Replace Filters
Regular cleaning or replacement of filters is essential for a car’s air conditioning system to maintain airflow and air quality. Filters block dust, pollen, and debris from entering the system and cabin. Clogged filters reduce airflow, strain the compressor, and lower cooling performance.
Filters prevent contaminants from damaging the AC system and keep cabin air fresh. When filters are dirty, airflow drops, which forces the compressor to work harder. This extra strain can cause premature compressor failure and reduce the system’s cooling ability. Regular filter care preserves system efficiency and extends the AC’s lifespan.
| Filter Type | Maintenance Frequency | Impact of Neglect |
|---|---|---|
| Cabin Air Filter | Every 12,000-15,000 miles | Reduced airflow, unpleasant odors |
| Engine Air Filter | Every 15,000-30,000 miles | Engine strain, lower fuel economy |
| AC System Filter | Annually | Compressor damage, refrigerant leaks |
| Replacement Tips | Use OEM parts | Ensures proper fit and function |
Proper filter maintenance is a critical step to ensure effective cooling and clean air inside the vehicle. Following recommended intervals and using compatible parts helps avoid costly repairs and maintains comfort.
Inspect and Seal Leaks
Inspecting and sealing leaks in an air conditioning system prevents refrigerant loss and maintains cooling efficiency. Detecting and fixing leaks protects the compressor and extends the system’s lifespan.
Air conditioning leaks reduce refrigerant levels. Low refrigerant lowers cooling capacity and can damage the compressor. Identifying leaks early keeps the system running efficiently.
Follow these steps to inspect and seal leaks:
- Detect leaks using UV dye or an electronic leak detector. These tools pinpoint exact leak locations.
- Inspect hoses, connections, compressor seals, and the evaporator for visible damage or wear.
- Apply appropriate sealants to minor leaks or replace damaged parts if necessary.
- Recharge the system with the correct refrigerant volume after sealing leaks.
- Retest the system to confirm no leaks remain.
Regular leak inspections and timely repairs maintain optimal air conditioning performance and prevent costly damage.
Frequently Asked Questions
What Type of Refrigerant Is Best for My Car AC System?
Preferred refrigerants depend on your car’s make and model. Most modern vehicles use R-134a for its reliability and compatibility. Newer models are switching to R-1234yf, which has a lower environmental impact. Always check your car’s manual or consult a certified technician to ensure you use the correct refrigerant and maintain optimal AC performance.
How Does Car AC Affect Fuel Efficiency?
Car air conditioning reduces fuel efficiency by increasing the engine’s workload to power the compressor, leading to higher fuel consumption. This effect is more significant at lower speeds or in city driving. At highway speeds, the impact on fuel use is less noticeable. Modern vehicles have more efficient AC systems and engines that help minimize this effect, but running the AC still lowers fuel economy to some extent.
Can Using a Car AC Harm People With Allergies?
Can Using a Car AC Harm People With Allergies?
Using a car AC can worsen allergies if the system contains mold, dust, or pollen in its filters or ducts. Contaminated filters circulate allergens inside the car, affecting sensitive individuals. Regular maintenance and filter replacement reduce this risk. The AC itself doesn’t cause allergies, but poor upkeep can trigger allergic reactions.
What Tools Are Essential for Professional AC Repair?
What tools are essential for professional car AC repair?
Essential tools include manifold gauge sets, vacuum pumps, refrigerant recovery machines, leak detectors, and refrigerant charging scales.
What tools are used for electrical diagnostics in AC repair?
Technicians use multimeters for electrical diagnostics.
What hand tools are needed for AC repair?
Wrenches and specialized hose removal tools are commonly used.
What safety gear is necessary for AC repair?
Proper safety gear includes gloves and goggles to handle refrigerants safely.
How Often Should the Car AC System Be Recharged?
The car AC system should be recharged every 2 to 3 years, depending on usage, climate, and vehicle condition. Hot climates or heavy use may require more frequent recharging. Regular maintenance checks detect refrigerant levels and leaks. Only recharge when necessary, as overcharging can cause damage. Professional diagnostics are recommended to determine the right timing.